It is simple and satisfying to paint new walls with their smooth and freshly plaster surfaces, and the paint finish will be effortlessly professional. Yet, the job becomes trickier when looking to paint on top of the paint. Even if the surface isn’t made imperfect with damage and flaking, there is likely a need to cover a brighter or darker colour.
While repainting walls sounds like a challenge, you can use some simple tools and tricks to achieve the same professional finishes.
Before you begin
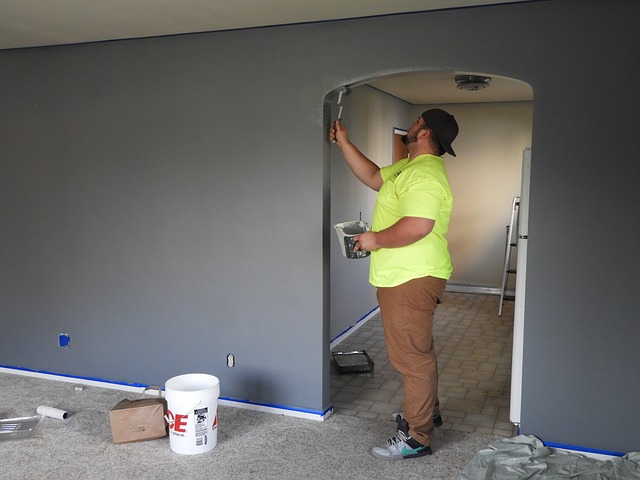
Repainting walls is always a messier business than you think. You will be spreading a lot of paint over a big surface, so preparing for this is essential. Make sure you clear the area of furniture and cover anything up that might get splashed. You should also consider taping up at the ceiling and around sockets to make sure you get the best finish.
You should also clean your walls with sugar soap. This is a boring step in the process and one you might choose to skip, but it is a great way to ensure the best paint finish.
Step 1: Smooth out the surface
An even application of paint, even with a paint sprayer, is best achieved when you have prepared the surface. If you have ever watched a professional painter and decorator at work, you will notice how much more time they put into preparation than you would imagine.
The preparation process begins with the use of a scraper and sandpaper to remove old loose paint, chips and any bubbling that might have occurred. The more work you do here, the better the outcome in the end.
Step 2: Fill in those holes and sand the surface
Ultimately, before you begin to paint, you want a smooth surface. Therefore, you need to use putty to repair any holes or significant nicks. After the putty has dried, sand it off and wipe the area clean with a damp sponge. Make sure you wipe over this area with a dry sponge before gently sanding it again to ensure smoothness.
Step 3: Apply a primer
Applying a primer is usually a job for a new wall that has just been plastered, and it prevents the paint from soaking into the surface and requires many applications for the best finish. Yet, primer also hides joints, seams, and other evidence of repair. Consequently, applying a primer and allowing it to dry will save you time.
Step 4: Use a preparation coat for different coloured walls
If you are changing the colour of the wall, you will want to use a prep coat first. If you take a dark colour back to white, this step is essential. Using cheap paint to cover much of the darker colour before applying your finish will save you from having to do multiple coats in an expensive emulsion.
Step 5: Apply two coats of paint
An even finish on your newly prepared wall is best achieved with two coats of paint. While you might feel that one coat has done the trick, you may find that some of the old colour comes through when it dries.
Using a paint sprayer will also allow you to maximise the effort put into evening out the surface, as it will more evenly apply the paint. If you are using a paintbrush, you should only ever dip your brush halfway up the bristles, making sure to remove excess from the brush. Even if using a roller, you should use a brush to establish the edge of the paint.
Step 6: Laying off your walls
This final and essential step allows you to get the smooth and consistent finish you desire. What this means is getting rid of streaky brushstrokes. Place an unloaded roller at the top left corner of your wall, ensuring the handle is to the right. Then, with no pressure, move the roller to the right. Keep returning to the top until you have rolled over the whole wall.
While this step might feel pointless and yet more work, it is one job you don’t want to skip if you want your repainted wall to look immaculate.
Preparation is everything
Ultimately, care and attention are needed when repainting walls. It is more than applying paint, and you need to wash and prep the wall so that it is a near-perfect surface for receiving the paint. Any shortcuts you think you are taking will likely end in additional coats of paint later. Remember, preparation is everything.


![CREATING A COZY SHE SHED [INFOGRAPHIC] Home Renovation blog](https://www.homedecoratingtrends.com/wp-content/uploads/2019/03/interior-3433005_1280-1-218x150.jpg)


